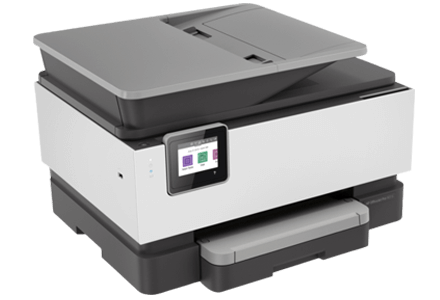
HP Officejet Pro 9025 Printer Setup
unboxing and setting up the HP Officejet Pro 9025 Printer Series Follow these steps to unbox and setting up the HP Officejet Pro 9025 Printer printer series:
- Open the HP Officejet Pro 9025 Printer box and remove all the items out.
- Remove all protective cover from the Printer.
- Plug in the HP Officejet Pro 9025 Printer using the supplied power cord.
- Turn on the HP Officejet Pro 9025 printer.
- On the HP Officejet Pro 9025 printer control panel, touch your Language, and then touch Confirm.
- Touch your Country or Region.
- Raise the ink cartridge access door and wait for the carriage to stop moving.
- Remove the tri-color and black cartridge from its package.
- Hold the cartridges carefully and remove any plastic strip.
- Install the cartridge in its slot respectively.
- If necessary, lift the cartridge lid.
- Set the cartridge in its slot, and then push down to snap it into place – OR – close the lid, if you previously lifted one.
- Close the cartridge access door, and then on the HP Officejet Pro 9025 Printer control panel, touch OK to confirm.
- Pull out the paper tray, and then slide the paper guides to their outermost position.
- Load a stack of paper into the tray.
- Pull in the paper tray.
- On the control panel, touch OK to confirm the paper type loaded, and then touch OK again to start aligning the HP Officejet Pro 9025 printer.
- Raise the scanner lid, and then place the Alignment Page print side down on the scanner glass, using the guides for placement.
- Close the scanner lid, and then touch Scan to scan the page.
- With the alignment successful, recycle the Alignment Page, and then touch OK to complete setting up the hardware.
- On a computer or mobile device, go to 123.hp.com to install your HP Officejet Pro 9025 printer software.